 Data Formats
ICARTT format description
NARSTO DES format description
Data Repositories
NASA INTEX-B (for C-130 and DC-8 investigators)
- INTEX-B/IMPEX Archive
From this site you can:
- Register a Data ID (required to upload data) (password protected)
- Download the FScan program to check ICARTT format
- Upload data files (password protected)
If you need the password, DC-8 investigators should contact Ali Aknan and C-130 investigators should contact Louisa Emmons . Other MILAGRO science team members can also contact us for the password if they need access to the aircraft data.
NCAR Community Data Portal
Any data not being archived in the NASA INTEX-B archive should be posted on the NCAR Community Data Portal (CDP): https://cdp.ucar.edu.
The CDP requires each user (just accessing data or uploading) to have an indvidual username and password. In addition, you need to request access to the MILAGRO data. These steps are outlined below. In the instructions below, you can click on the images to get a larger view.
1. Register/Login
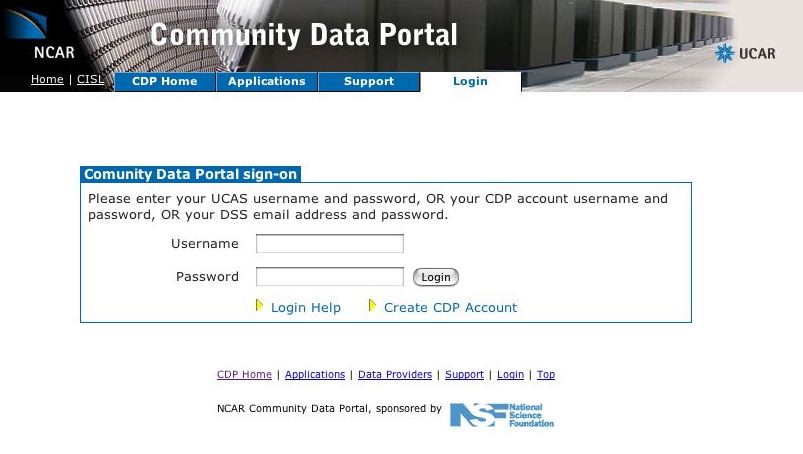
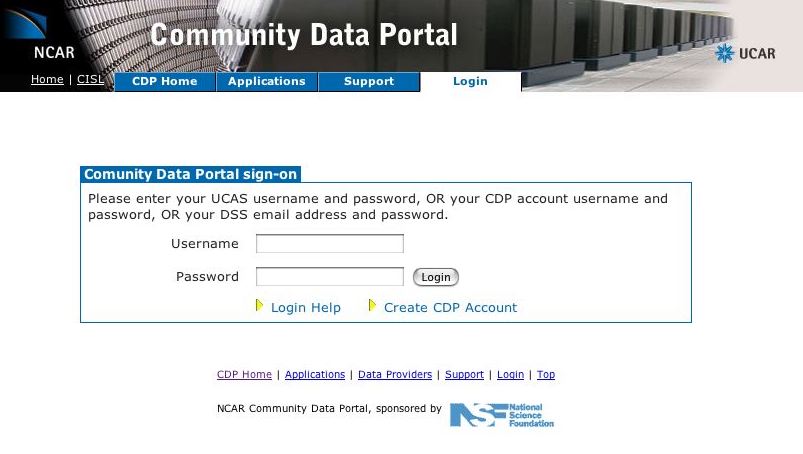
UCAR people can use their UCAS (gatekeeper) username and password to login. For all others, the first time you access the CDP, click on the 'Login' tab, and Select 'Create CDP account'.
After filling out and submitting the form you will receive an email with a link that you must click to confirm your account. Login with your username and password.
2. Request access to MILAGRO
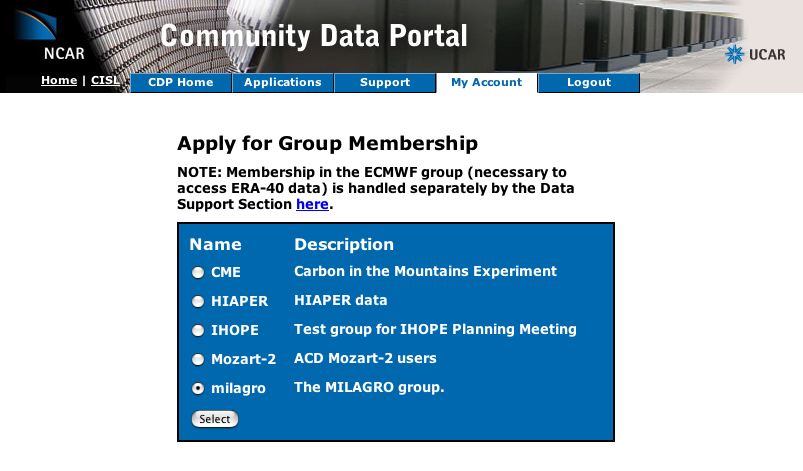
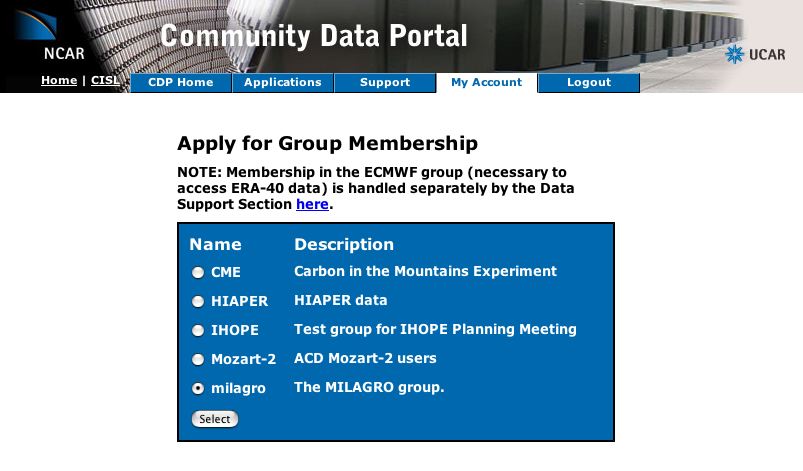
To access the MILAGRO data, you must request access to the 'milagro' group. If you click on the 'ACD/MILAGRO' folder on the main CDP page, you will be directed to request access to the group. You may also click the 'My Account' tab, and then select 'Apply for Group Membership'. On the resulting page, select 'milagro':
Fill out the form. Your answers (Platform and Group PI) will determine to which directories you will be able to upload data.
After getting an email confirming that you are part of the 'MILAGRO' group, you will be able to download data from all sub-directories under MILAGRO.3. Download data
To download data, just click on the filename, or right-click and choose download file.
4. Upload data
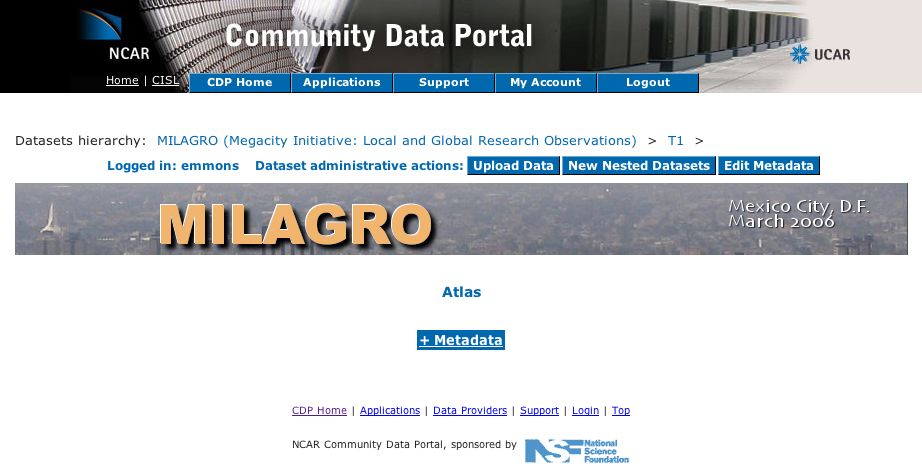
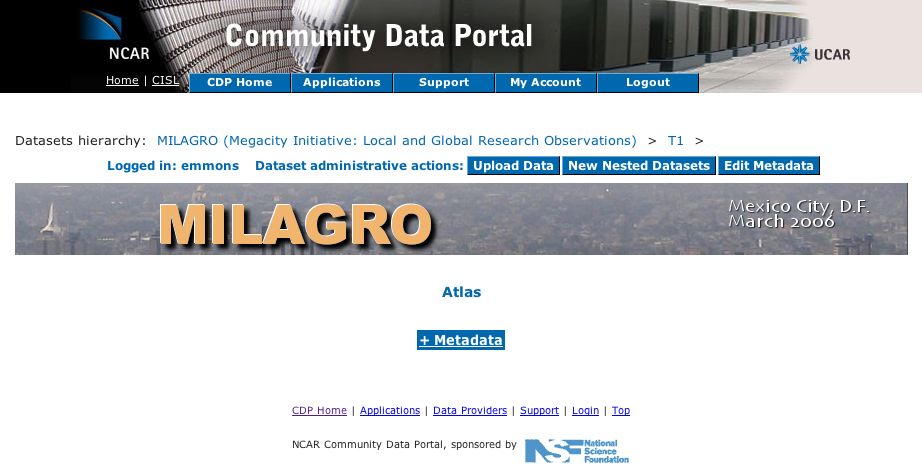
To upload data, navigate to the appropriate directory (T0, G1, etc.) and subdirectory (your group's PI). If you have permission to upload data to this directory, you will see 3 buttons at the top of the page: Upload Data, New Nested Datasets, Edit Metadata.
If you do not find a subdirectory with your group's PI's name, or do not have permission to write to the desired directory, contact Louisa Emmons
To upload data, click the 'Upload Data' button and follow the directions. These include selecting files (you can select zip or tar files that include multiple files and you will be asked if you want to uncompress them); uploading the files, and 'publishing' the files (so they are visible on the website).
If you would like to sort your files into further subdirectories, click the 'New Nested Datasets' button and enter the names of the new folders.
All users are encouraged to enter a brief summary of the data they have uploaded by using the 'Edit Metadata' button. At the minimum, enter a description of the measurements under the 'Summary' category - this will show up on the web page under the name of your subdirectory when a user is browsing that directory. Other information will show up under the Metadata link.In case of problems
or questions, etc., contact Louisa Emmons
